とりあえず使えればOKな最低限設定。
環境は以下の通りで、仮想CentOSからyumしたい。
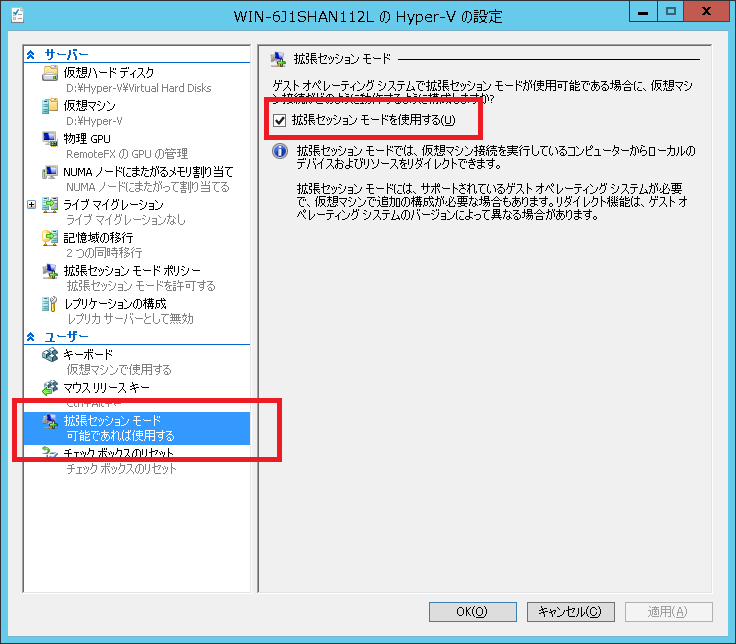
ホストOS:Windows10(Hyper-V)
ゲストOS:CentOS7.4
仮想ネットワークタイプ:内部ネットワーク
内部ネットワーク接続のため、ゲストOSからは直接インターネットに出ることができないので、ホストOSのWindows10にSquidを入れるよ。
まずは、Squidのインストールと設定
こっからダウンロード。とりあえず、僕がいれたのは最新の3.0
http://squid.acmeconsulting.it/download/dl-squid.html
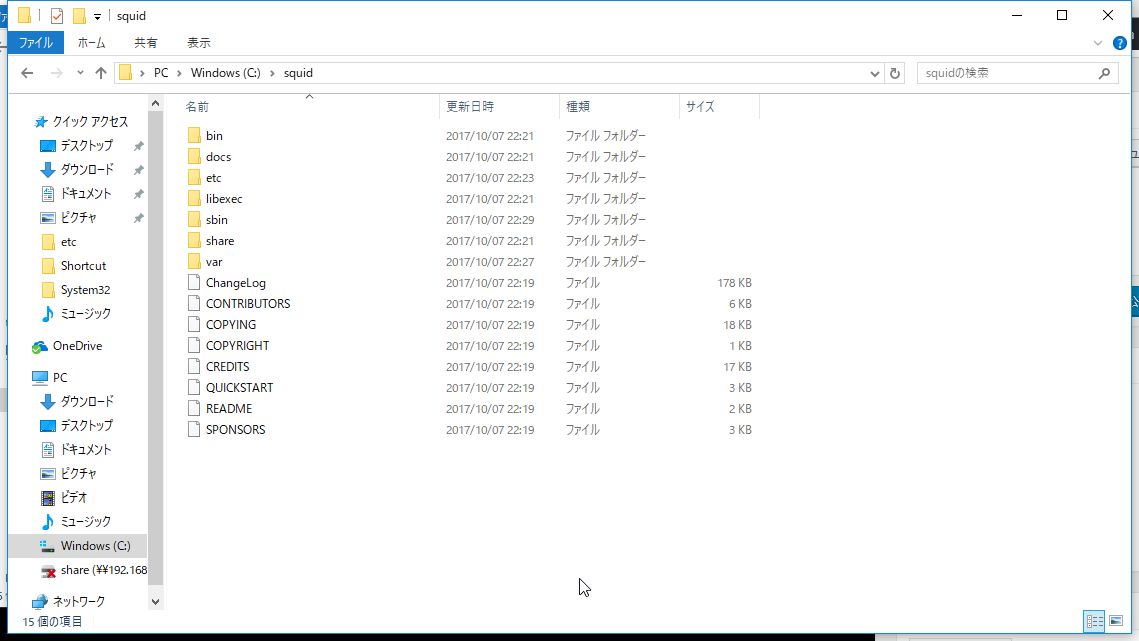
圧縮ファイルを解凍し、SquidフォルダごとC:\直下に配置する。
squid.confとmime.confの.defaultをとる
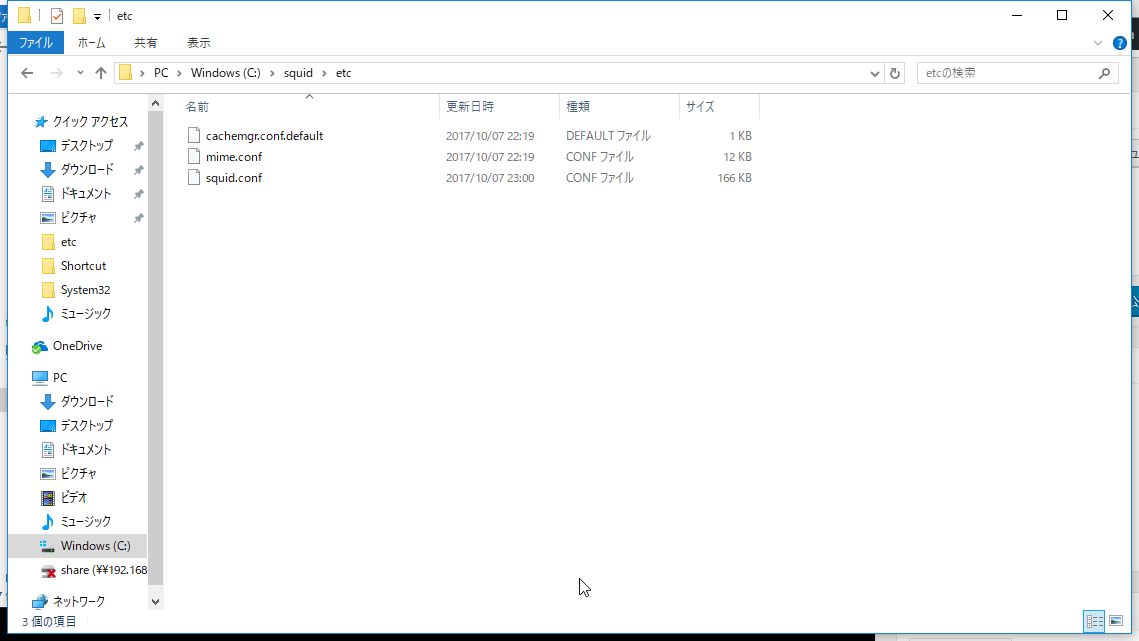
設定は以下の感じに。squid.confに書くよ。
「acl localnet src」の設定は、許可するネットワークアドレスを書くよ。今回はHyper-Vの仮想スイッチに割り当てたIPアドレスを書く感じだね。

#Recommended minimum configuration:
acl manager proto cache_object
acl localhost src 127.0.0.1/32
acl to_localhost dst 127.0.0.0/8 0.0.0.0/32
#
# Example rule allowing access from your local networks.
# Adapt to list your (internal) IP networks from where browsing
# should be allowed
#acl localnet src 10.0.0.0/8	# RFC1918 possible internal network  ←コメントアウト
#acl localnet src 172.16.0.0/12	# RFC1918 possible internal network  ←コメントアウト
#acl localnet src 192.168.0.0/16	# RFC1918 possible internal network  ←コメントアウト
acl localnet src 192.168.1.0/24	# RFC1918 possible internal network  ←追加
.
.


#  TAG: visible_hostname
#	If you want to present a special hostname in error messages, etc,
#	define this.  Otherwise, the return value of gethostname()
#	will be used. If you have multiple caches in a cluster and
#	get errors about IP-forwarding you must set them to have individual
#	names with this setting.
#
#Default:
# none
visible_hostname Proxy  ←追加
.
.

#Recommended minimum configuration:
#
# Only allow cachemgr access from localhost
http_access allow manager localhost
http_access allow localnet  ←追加
http_access deny manager
# Deny requests to unknown ports
http_access deny !Safe_ports
# Deny CONNECT to other than SSL ports
http_access deny CONNECT !SSL_ports
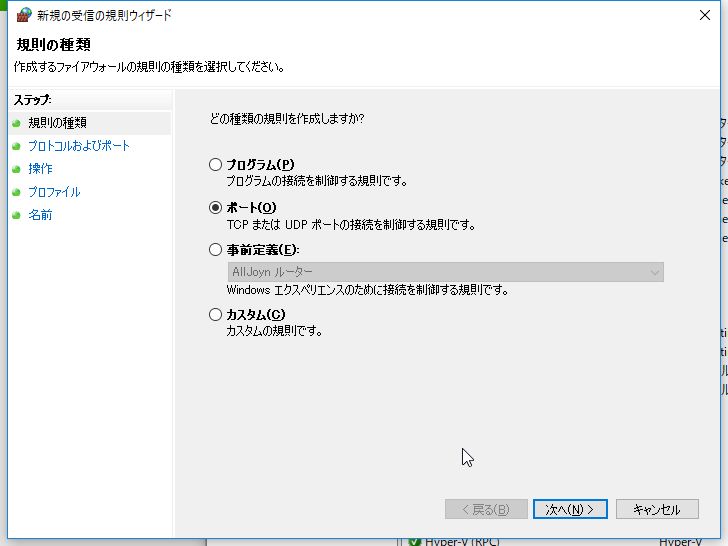
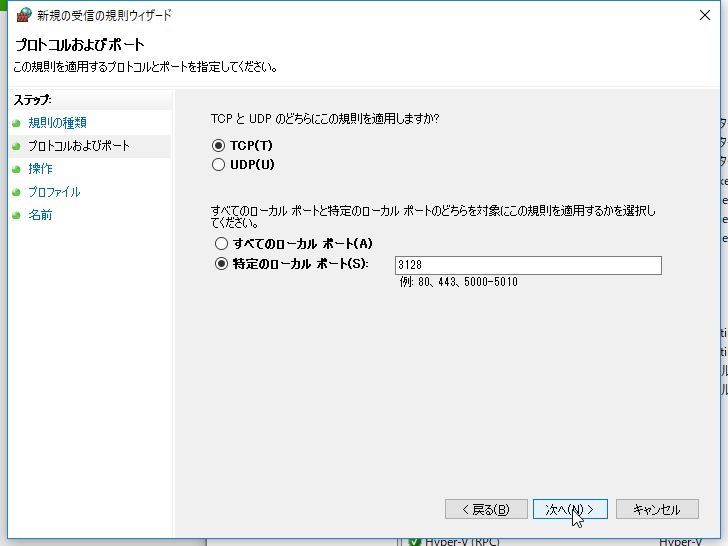
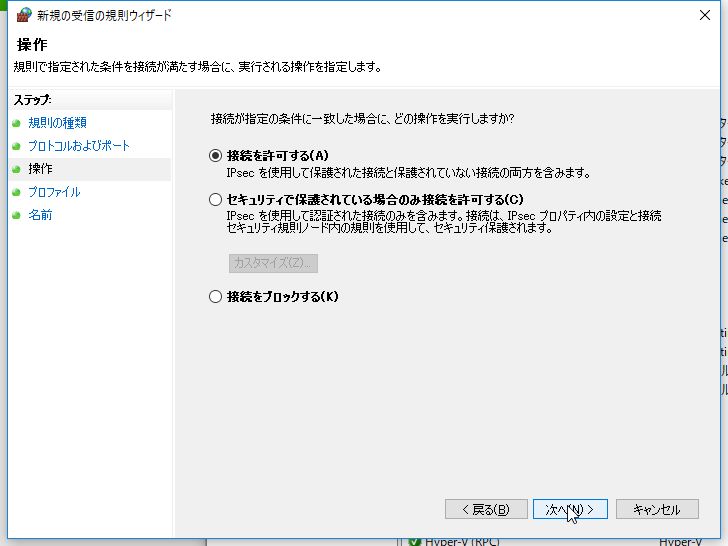
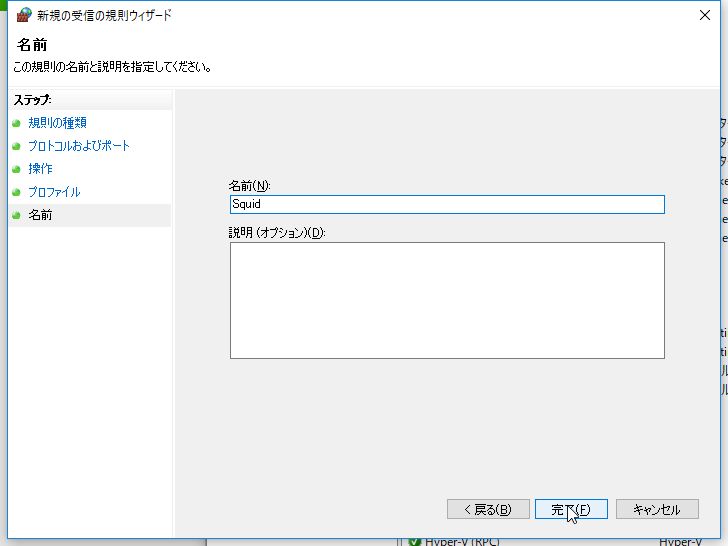
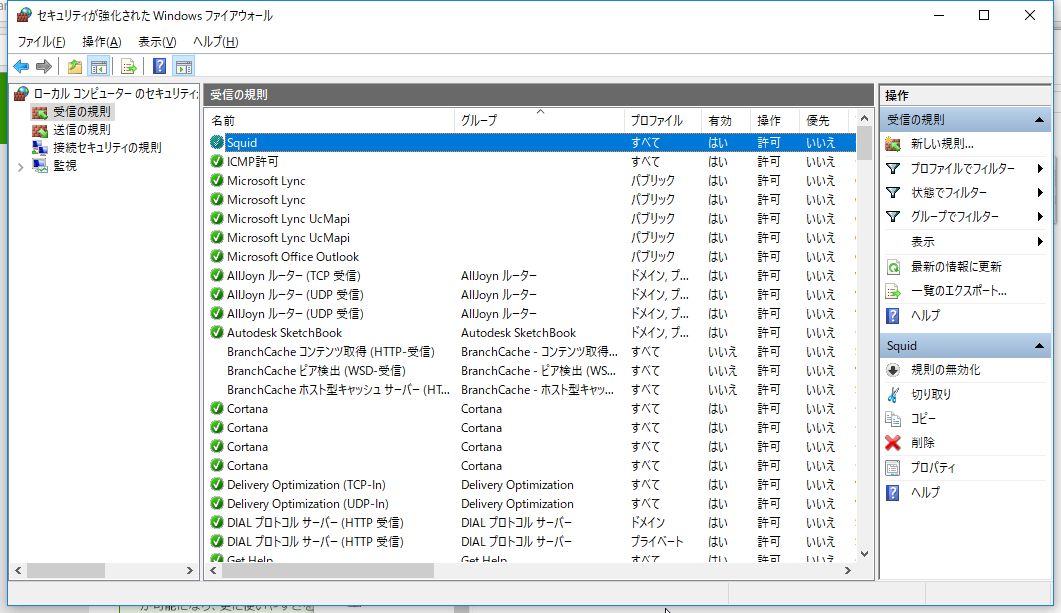
Windowsファイアウォールを使っている場合、待ち受けポートの開ける必要があるよ。
今回はデフォルトのままだから3128を開けとくよ。

設定が終わったら、コマンドプロンプトを管理者起動して、キャッシュフォルダの作成、インストール、サービス起動をするよ。
#キャッシュフォルダの作成
c:\>c:\squid\sbin\squid.exe -z
2017/10/07 22:27:47| Creating Swap Directories
2017/10/07 22:27:47| Making directories in c:/squid/var/cache/00
2017/10/07 22:27:47| Making directories in c:/squid/var/cache/01
2017/10/07 22:27:47| Making directories in c:/squid/var/cache/02
2017/10/07 22:27:47| Making directories in c:/squid/var/cache/03
2017/10/07 22:27:47| Making directories in c:/squid/var/cache/04
2017/10/07 22:27:47| Making directories in c:/squid/var/cache/05
2017/10/07 22:27:48| Making directories in c:/squid/var/cache/06
2017/10/07 22:27:48| Making directories in c:/squid/var/cache/07
2017/10/07 22:27:48| Making directories in c:/squid/var/cache/08
2017/10/07 22:27:48| Making directories in c:/squid/var/cache/09
2017/10/07 22:27:48| Making directories in c:/squid/var/cache/0A
2017/10/07 22:27:48| Making directories in c:/squid/var/cache/0B
2017/10/07 22:27:48| Making directories in c:/squid/var/cache/0C
2017/10/07 22:27:48| Making directories in c:/squid/var/cache/0D
2017/10/07 22:27:48| Making directories in c:/squid/var/cache/0E
2017/10/07 22:27:48| Making directories in c:/squid/var/cache/0F

#インストール
c:\>c:\squid\sbin\squid.exe -i
Registry stored HKLM\SOFTWARE\GNU\Squid\3.0\Squid\ConfigFile value c:/squid/etc/squid.conf
Squid Cache version 3.0.STABLE23-BZR for i686-pc-mingw32
installed successfully as Squid Windows System Service.
To run, start it from the Services Applet of Control Panel.
Don't forget to edit squid.conf before starting it.

#サービス起動
c:\>net start squid
Squid サービスを開始します.
Squid サービスは正常に開始されました。
ゲストOSのCentOSから動作確認するよ
[root@localhost ~]# cat /etc/profile.d/proxy.sh
PROXY="192.168.1.1:3128"
# 認証がある場合は、"ユーザ:パスワード@アドレス:ポート"

export http_proxy="http://$PROXY"
export https_proxy="http://$PROXY"
export ftp_proxy="http://$PROXY"

export no_proxy="127.0.0.1,localhost"
[root@localhost ~]#
[root@localhost ~]# echo $PROXY
192.168.1.1:3128
[root@localhost ~]#
[root@localhost ~]#
[root@localhost ~]# yum -y install net-tools
読み込んだプラグイン:fastestmirror
Loading mirror speeds from cached hostfile
 * base: ftp.iij.ad.jp
 * extras: ftp.iij.ad.jp
 * updates: ftp.iij.ad.jp
依存性の解決をしています
--> トランザクションの確認を実行しています。
---> パッケージ net-tools.x86_64 0:2.0-0.22.20131004git.el7 を インストール
--> 依存性解決を終了しました。

依存性を解決しました

================================================================================
 Package         アーキテクチャー
                              バージョン                       リポジトリー
                                                                           容量
================================================================================
インストール中:
 net-tools       x86_64       2.0-0.22.20131004git.el7         base       305 k

トランザクションの要約
================================================================================
インストール  1 パッケージ

総ダウンロード容量: 305 k
インストール容量: 917 k
Downloading packages:
net-tools-2.0-0.22.20131004git.el7.x86_64.rpm              | 305 kB   00:00
Running transaction check
Running transaction test
Transaction test succeeded
Running transaction
  インストール中          : net-tools-2.0-0.22.20131004git.el7.x86_64       1/1
  検証中                  : net-tools-2.0-0.22.20131004git.el7.x86_64       1/1

インストール:
  net-tools.x86_64 0:2.0-0.22.20131004git.el7

完了しました!
[root@localhost ~]#