DropboxライクなOwnCloudをインストールしてみる。
Dropbox、GoogleDriveなどのクラウドストレージ環境を自分のサーバで実現できる。
・Apache、php、DBからなる
・webベースでの操作ができる
・iphoneアプリなどもある
############
#apache
############
#インストール
[root@localhost ~]# yum -y install httpd
#サービス自動起動設定
[root@localhost ~]# systemctl enable httpd.service
ln -s '/usr/lib/systemd/system/httpd.service' '/etc/systemd/system/multi-user.target.wants/httpd.service'
#firewalld許可対象に追加
[root@localhost ~]# firewall-cmd --add-service=http --permanent
success
[root@localhost ~]# firewall-cmd --reload
success

############
#php
############
#インストール
[root@localhost ~]# yum install php-fpm php-common php-mbstring php-pecl-apcu php-gd php-mysql
#date.timezone = "Asia/Tokyo"を[Date]に追記
[root@localhost ~]# vi /etc/php.ini
[Date]
; Defines the default timezone used by the date functions
; http://php.net/date.timezone
;date.timezone =
date.timezone = "Asia/Tokyo"

############
#mariadb
############
#インストール
[root@localhost ~]# yum -y install mariadb-server
"character-set-server=utf8"を[mysqld_safe]に追記
[root@localhost ~]# vi /etc/my.cnf
[mysqld_safe]
log-error=/var/log/mariadb/mariadb.log
pid-file=/var/run/mariadb/mariadb.pid
character-set-server=utf8
#サービス起動
[root@localhost ~]# systemctl start mariadb
#サービス自動起動設定
[root@localhost ~]# systemctl enable mariadb
ln -s '/usr/lib/systemd/system/mariadb.service' '/etc/systemd/system/multi-user.target.wants/mariadb.service'
#mariadb設定 ※パスワード入力時以外はすべてY応答
[root@localhost ~]# mysql_secure_installation

NOTE: RUNNING ALL PARTS OF THIS SCRIPT IS RECOMMENDED FOR ALL MariaDB
      SERVERS IN PRODUCTION USE!  PLEASE READ EACH STEP CAREFULLY!

In order to log into MariaDB to secure it, we'll need the current
password for the root user.  If you've just installed MariaDB, and
you haven't set the root password yet, the password will be blank,
so you should just press enter here.

Enter current password for root (enter for none):
OK, successfully used password, moving on...

Setting the root password ensures that nobody can log into the MariaDB
root user without the proper authorisation.

Set root password? [Y/n] Y
New password:
Re-enter new password:
Password updated successfully!
Reloading privilege tables..
 ... Success!


By default, a MariaDB installation has an anonymous user, allowing anyone
to log into MariaDB without having to have a user account created for
them.  This is intended only for testing, and to make the installation
go a bit smoother.  You should remove them before moving into a
production environment.

Remove anonymous users? [Y/n] Y
 ... Success!

Normally, root should only be allowed to connect from 'localhost'.  This
ensures that someone cannot guess at the root password from the network.

Disallow root login remotely? [Y/n] Y
 ... Success!

By default, MariaDB comes with a database named 'test' that anyone can
access.  This is also intended only for testing, and should be removed
before moving into a production environment.

Remove test database and access to it? [Y/n] Y
 - Dropping test database...
 ... Success!
 - Removing privileges on test database...
 ... Success!

Reloading the privilege tables will ensure that all changes made so far
will take effect immediately.

Reload privilege tables now? [Y/n] Y
 ... Success!

Cleaning up...

All done!  If you've completed all of the above steps, your MariaDB
installation should now be secure.

Thanks for using MariaDB!

#firewalld許可対象に追加
[root@localhost ~]# firewall-cmd --add-service=mysql --permanent
success
[root@localhost ~]# firewall-cmd --reload
success

############
#Owncloud
############
#リポジトリを設定
[root@localhost ~]# wget http://download.owncloud.org/download/repositories/stable/CentOS_7/ce:stable.repo -P /etc/yum.repos.d
#インストール
[root@localhost ~]# yum -y install owncloud
#owncloud用DBを作成する
[root@localhost ~]# mysql -u root -p
Enter password:
Welcome to the MariaDB monitor.  Commands end with ; or \g.
Your MariaDB connection id is 10
Server version: 5.5.52-MariaDB MariaDB Server

Copyright (c) 2000, 2016, Oracle, MariaDB Corporation Ab and others.

Type 'help;' or '\h' for help. Type '\c' to clear the current input statement.

#DB作成
MariaDB [(none)]> create database owncloud;
Query OK, 1 row affected (0.01 sec)

#owncloud用ユーザへの付与
MariaDB [(none)]> grant all privileges on owncloud.* to owncloud@'localhost' identified by 'P@ssw0rd';
Query OK, 0 rows affected (0.05 sec)

#権限設定の反映
MariaDB [(none)]> flush privileges;
Query OK, 0 rows affected (0.00 sec)

MariaDB [(none)]> quit
Bye
[root@localhost ~]#

#SELinuxを無効にするため、「SELINUX=disabled」を設定
[root@localhost ~]# vi /etc/selinux/config
# This file controls the state of SELinux on the system.
# SELINUX= can take one of these three values:
#     enforcing - SELinux security policy is enforced.
#     permissive - SELinux prints warnings instead of enforcing.
#     disabled - No SELinux policy is loaded.
#SELINUX=Enforcing
SELINUX=disabled

#設定反映のためリブート
[root@localhost ~]# reboot
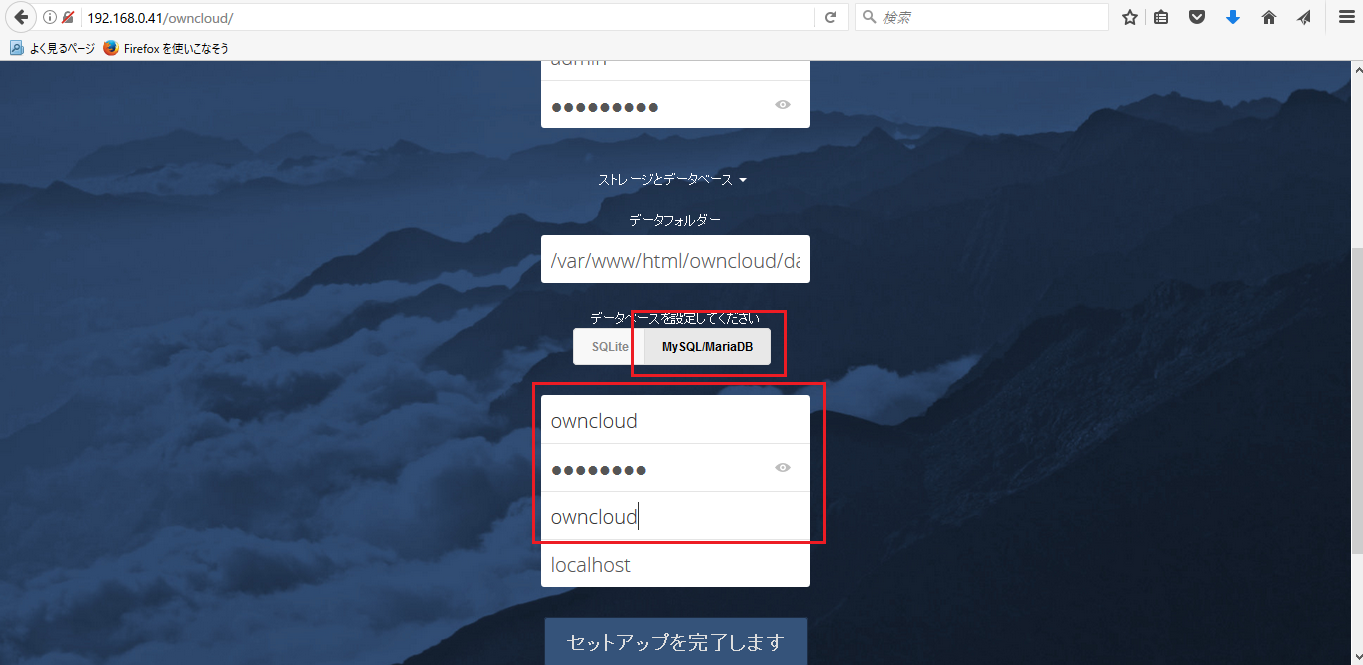
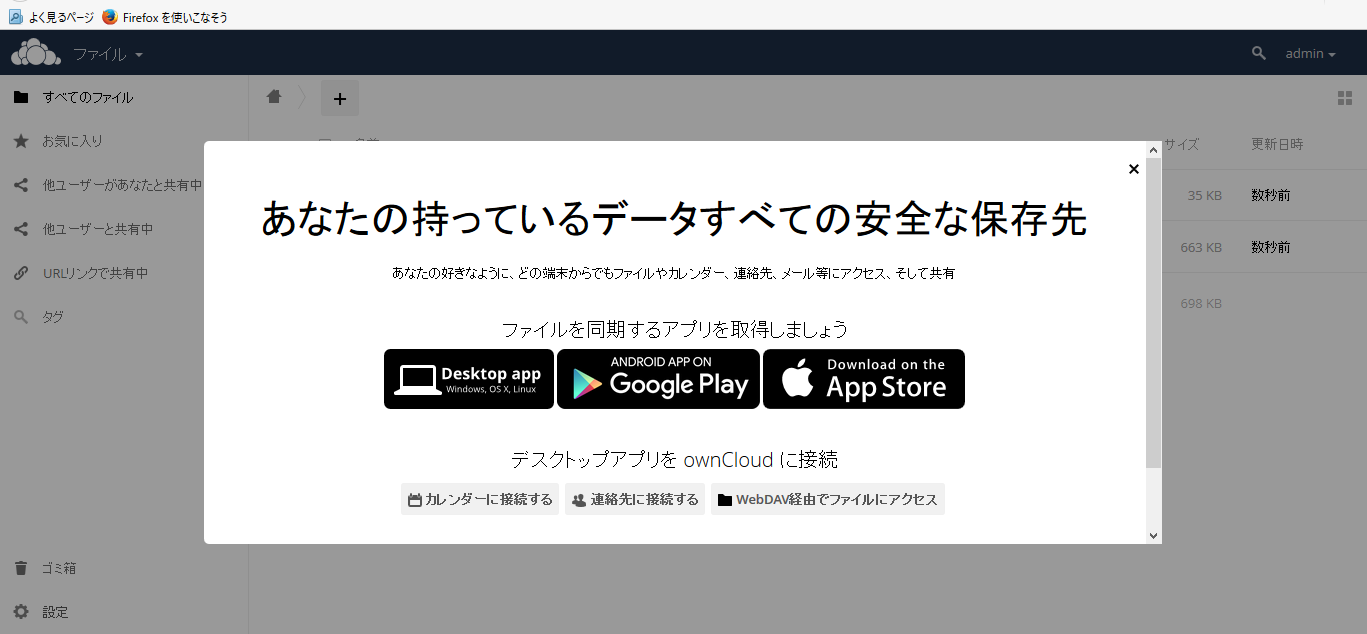
「サーバ名orIPアドレス/owncloud」をブラウザからアクセスし、ユーザ名、パスワードを決める


